Pages

Showing posts with label DIY wedding. Show all posts

Saturday, November 19, 2011

Mr & Mrs: Walker Video

Two months ago some very good friends of mine; Andy and Kaitlin got married. This is the adorable video recap of their wedding. Good work guys! I will be posting the images from some things I got to help our with from their day. It was such a beautiful DIY wedding. Andy and Kaitlin have impeccable taste. Happy Two Months Walkers! 

Thursday, August 18, 2011

DIY Wednesday: Feed your Guests

Whoah it has been a while. I wish I could say that it was for a really great reason but honestly I've just been very busy- some exciting news that I'll tell you about in my next post. For this DIY Wed( yes I know its Thurs) I thought I'd inspire you with some ideas for feeding your guests! Here you go:


If you are not having a bar or just want some cute ways to present non-alchoholic beverages try a self-serve lemonade stand, this would be cute with a "tip the bride & groom" jar that goes toward your honeymoon! Have the groomsmen( or a friend) build a small stand and paint a sign with your beverages. 
 Serve your punch in an apothecary jar instead of a punch bowl. I LOVE these chalkboard nametags! Make your own with this spray chalkboard paint by painting painters tape and tearing it into strips for each glass. Then leave chalk near the drinks for guests to write their name.
 For those of you who dont want a traditional cake or dont like cake at all(I don't) try a cookies stand or a different kind of treat that you both like. I think this would be adorable with bottles of milk(soy, almond, rice, and cows) on ice in pails so it would be a "cookies & milk" stand! A brownies stand would be great too! Figure out what you like and grab some friends to help you stack some hay bales, suitcases, or boxes and then make a simple sign out of 2x4's and some white paint then lay an old window across to hold the treats display. Simple. Delicious. 
 Dont like oreos? Have your mom or another baker make you some homemade cookies to stack like a cake, all you need is a cake stand and a friend with a steady hand. So easy! 
enjoy! get creative! 
xo
{images from Pinterest}

Wednesday, June 22, 2011

DIY Wednesday: Receipt paper background

I love a good backdrop. This DIY Wednesday so easy and it has such a dramatic effect!
 Dont you love those? 
1. Take rolls of receipt paper( this couple chose a light pink color) tear, loop, and hang them at different heights. Attach to the ceiling of your venue with tape, fishing line, or ribbon.

*Another alternative, if you want it to be moveable, would be to attach the strips to a wooden frame with mesh stretched across it and then hang it with fishing line.*

Friday, March 18, 2011

DIY

If you like vintage inspired things as much as I do then you'll probably fall in love with this week's DIY project too. Brought to us by brooklynbride. 
 This adorable save the date/invitation/favor idea is so great for any wedding, party, or just for fun. Enjoy. Get creative! 
xo
Supplies:
paper, ruler, cardboard(for pressing) scissors or blade, cd-r


Download the templates:

Wednesday, February 23, 2011

DIY: Wednesday


Its that time again. Ill be featuring DIY weddings ideas, inspiration, projects and more every wednesday so stay tuned for more ways to make your wedding cute easy and more affordable. 
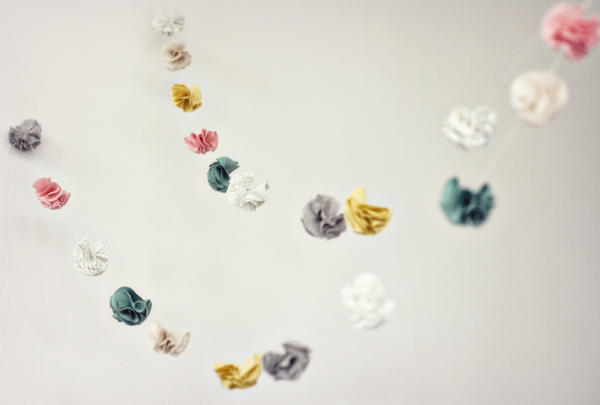
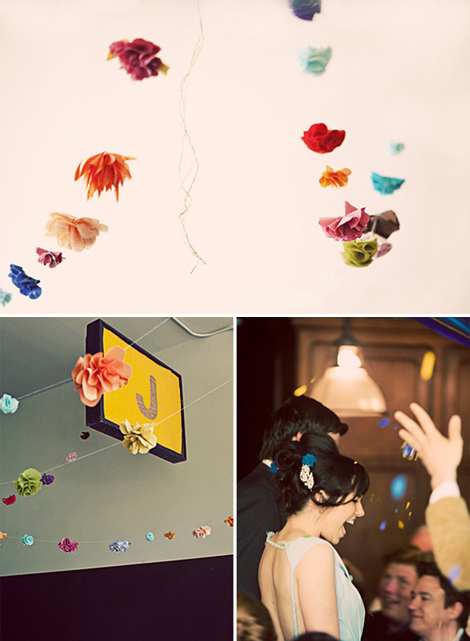
With spring in tow and warm weather hitting my city I thought id lighten up the DIY Wednesday with a spring inspired project. Brought to you by oncewed this project is simple and oh so adorable! Use it at your ceremony to drape the ceiling with color, over your dessert or food tables, in the trees, down the aisle, in a reception tent, or draped down doorways. 
Leave Martha's pre-packaged idea on the shelf this time and try this out, or at least get your bridal party to do it for you.


Fabric Flower Garland 

Supplies: Scissors, needle and thread, fabric, and a pencil.


Step 1: 
Fold your fabric and use the spool of thread to trace a circle. 
Then cut the circles out.
Step 2: 
Take one circle and fold it in half.
Step 3: 
Take the half circle and fold it in half again.
Step 4: 
Then take your circle and stitch through the bottom. 
Continue this step, adding at least 6 circles on top of the first.


Step 5: 
Once you have sewn all 6 circles, 
connect the petals together by stitching through each one
 at the corners and then tying off the tread with a double knot.
Step 6:
 Next, cut 3 yards of thread and add on the flowers one by one.


Now your done. Enjoy your handiwork! Get Creative! 
xo

Wednesday, February 9, 2011

DIY: WEDNESDAY

This week's DIY idea is brought to us by 100layercake. I love unique centerpiece ideas. Especially affordable, adorable ones like this paper flower! You dont have to worry about wilting or transporting and they add a lovely whimsical touch to any event! 


7 sheets of a single color for petals. Each sheet is a single petal. (We used Canson Colorline Art Papers 19″ x 25″ from the local art supply store.)

Yellow or mustard color for stamen (middle of the flower)

1 black for center
 
3 sheets of different greens (We used pastel quality greens because the colors are better)

Glue gun, pencil, scissors, 18″ ruler


Thursday, January 13, 2011

Homemade Charm: Hannah & Anthony

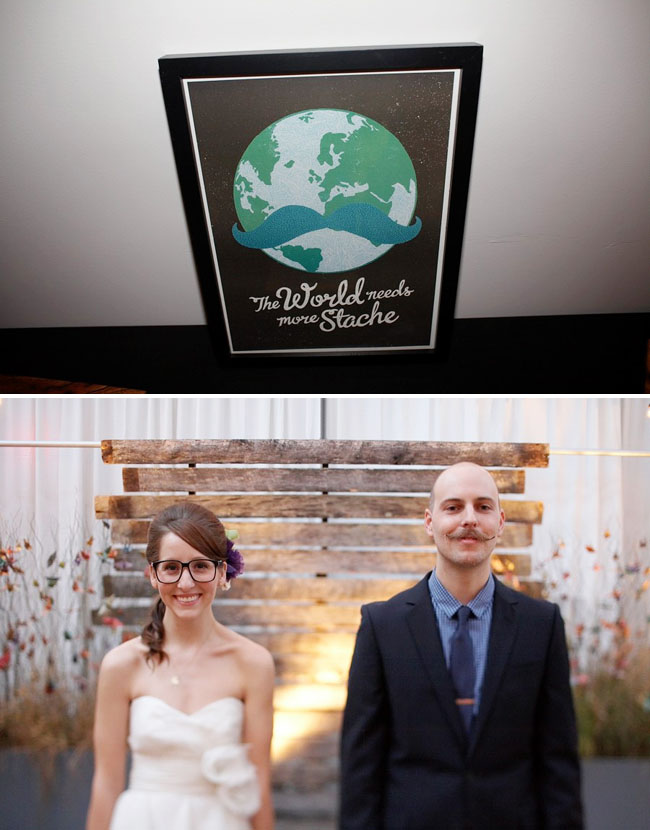
All of the things in this wedding are things that I love. From the homemade centerpiees from Hannah's family farm to the photobooth by Magnolia Photo Co. I am so in love with this wedding. Get inspired. Make your own. Enjoy their handiwork. 


The world needs more stache, and more couples like this. 


How adorable are her pompom heels? 


If the cuteness wasn't enough she also has a kick-butt brooch bouquet! Collect your own brooches at thrift stores and ask you aunties and granmoms for theirs to borrow.


All the wood you see here was from Hannah's family farm and Anthony repurposed it. Well done kids. Well done. 


A great story on this cake topper! Hannah's sister and mom helped with the tiny clothes and matching banner and Anthony made the stache and glasses. I love it when everyone pitches in! It makes such great memories and such adorable details!


The 600 oragami birds were created by Hannah's mom, a very good skill to have handy!


Even the napkins are cute!


As always, one of the biggest hits at this wedding was their beautiful photobooth by MagBooth, everyone had a blast and got to go home with their own memory. Hannah later had all the pics put into a book for her own keepsake. 


Love this moment that was caught- second pair of shoes is an important detail! 


I feel like a proud mother watching her kids put on a fantastic-ly homespun wedding! Well done! I wish you all the happiest moments together!